Imagine the warmth of a sunny day, the gentle breeze, and the bright splash of color from a beautiful flower. That feeling, you know, is something many of us just love. What if you could carry that little bit of summer with you, right on your hands? That's where, really, hibiscus nail art comes into the picture, offering a pretty way to show off your love for all things tropical.
These striking flowers, with their big, colorful blooms, are a true symbol of sunny places. They come in so many different shades, from soft pinks and whites to deep reds and vibrant yellows. You can find them, actually, growing in warm spots all over the globe. Their unique look makes them a perfect choice for adding a touch of exotic beauty to your nails, giving them a cheerful and lively feel.
Whether you're getting ready for a vacation, dreaming of a beach getaway, or just want to brighten up your everyday look, hibiscus nail art is a delightful option. It's a way to express yourself, you see, and bring a bit of that island charm right to your fingertips. This look is, frankly, quite popular right now for anyone wanting a fresh, summery style.
Table of Contents
- The Allure of Hibiscus Flowers
- Why Hibiscus Nail Art is a Must-Try
- Getting Started: What You'll Need
- Basic Hibiscus Nail Art Techniques
- Step-by-Step Guide for a Classic Hibiscus
- Beyond the Basics: Creative Hibiscus Nail Art Ideas
- Tips for Long-Lasting Hibiscus Nails
- Caring for Your Hibiscus Plants
- Frequently Asked Questions About Hibiscus Nail Art
- Ready to Try Hibiscus Nail Art?
The Allure of Hibiscus Flowers
Hibiscus flowers, you know, are truly something special. They belong to a large group of flowering plants, actually, called the mallow family. There are hundreds of different kinds, and they grow in many warm places, from mild areas to very hot, tropical ones. Some are small herbs, some are shrubs, and some even grow into trees, which is pretty amazing.
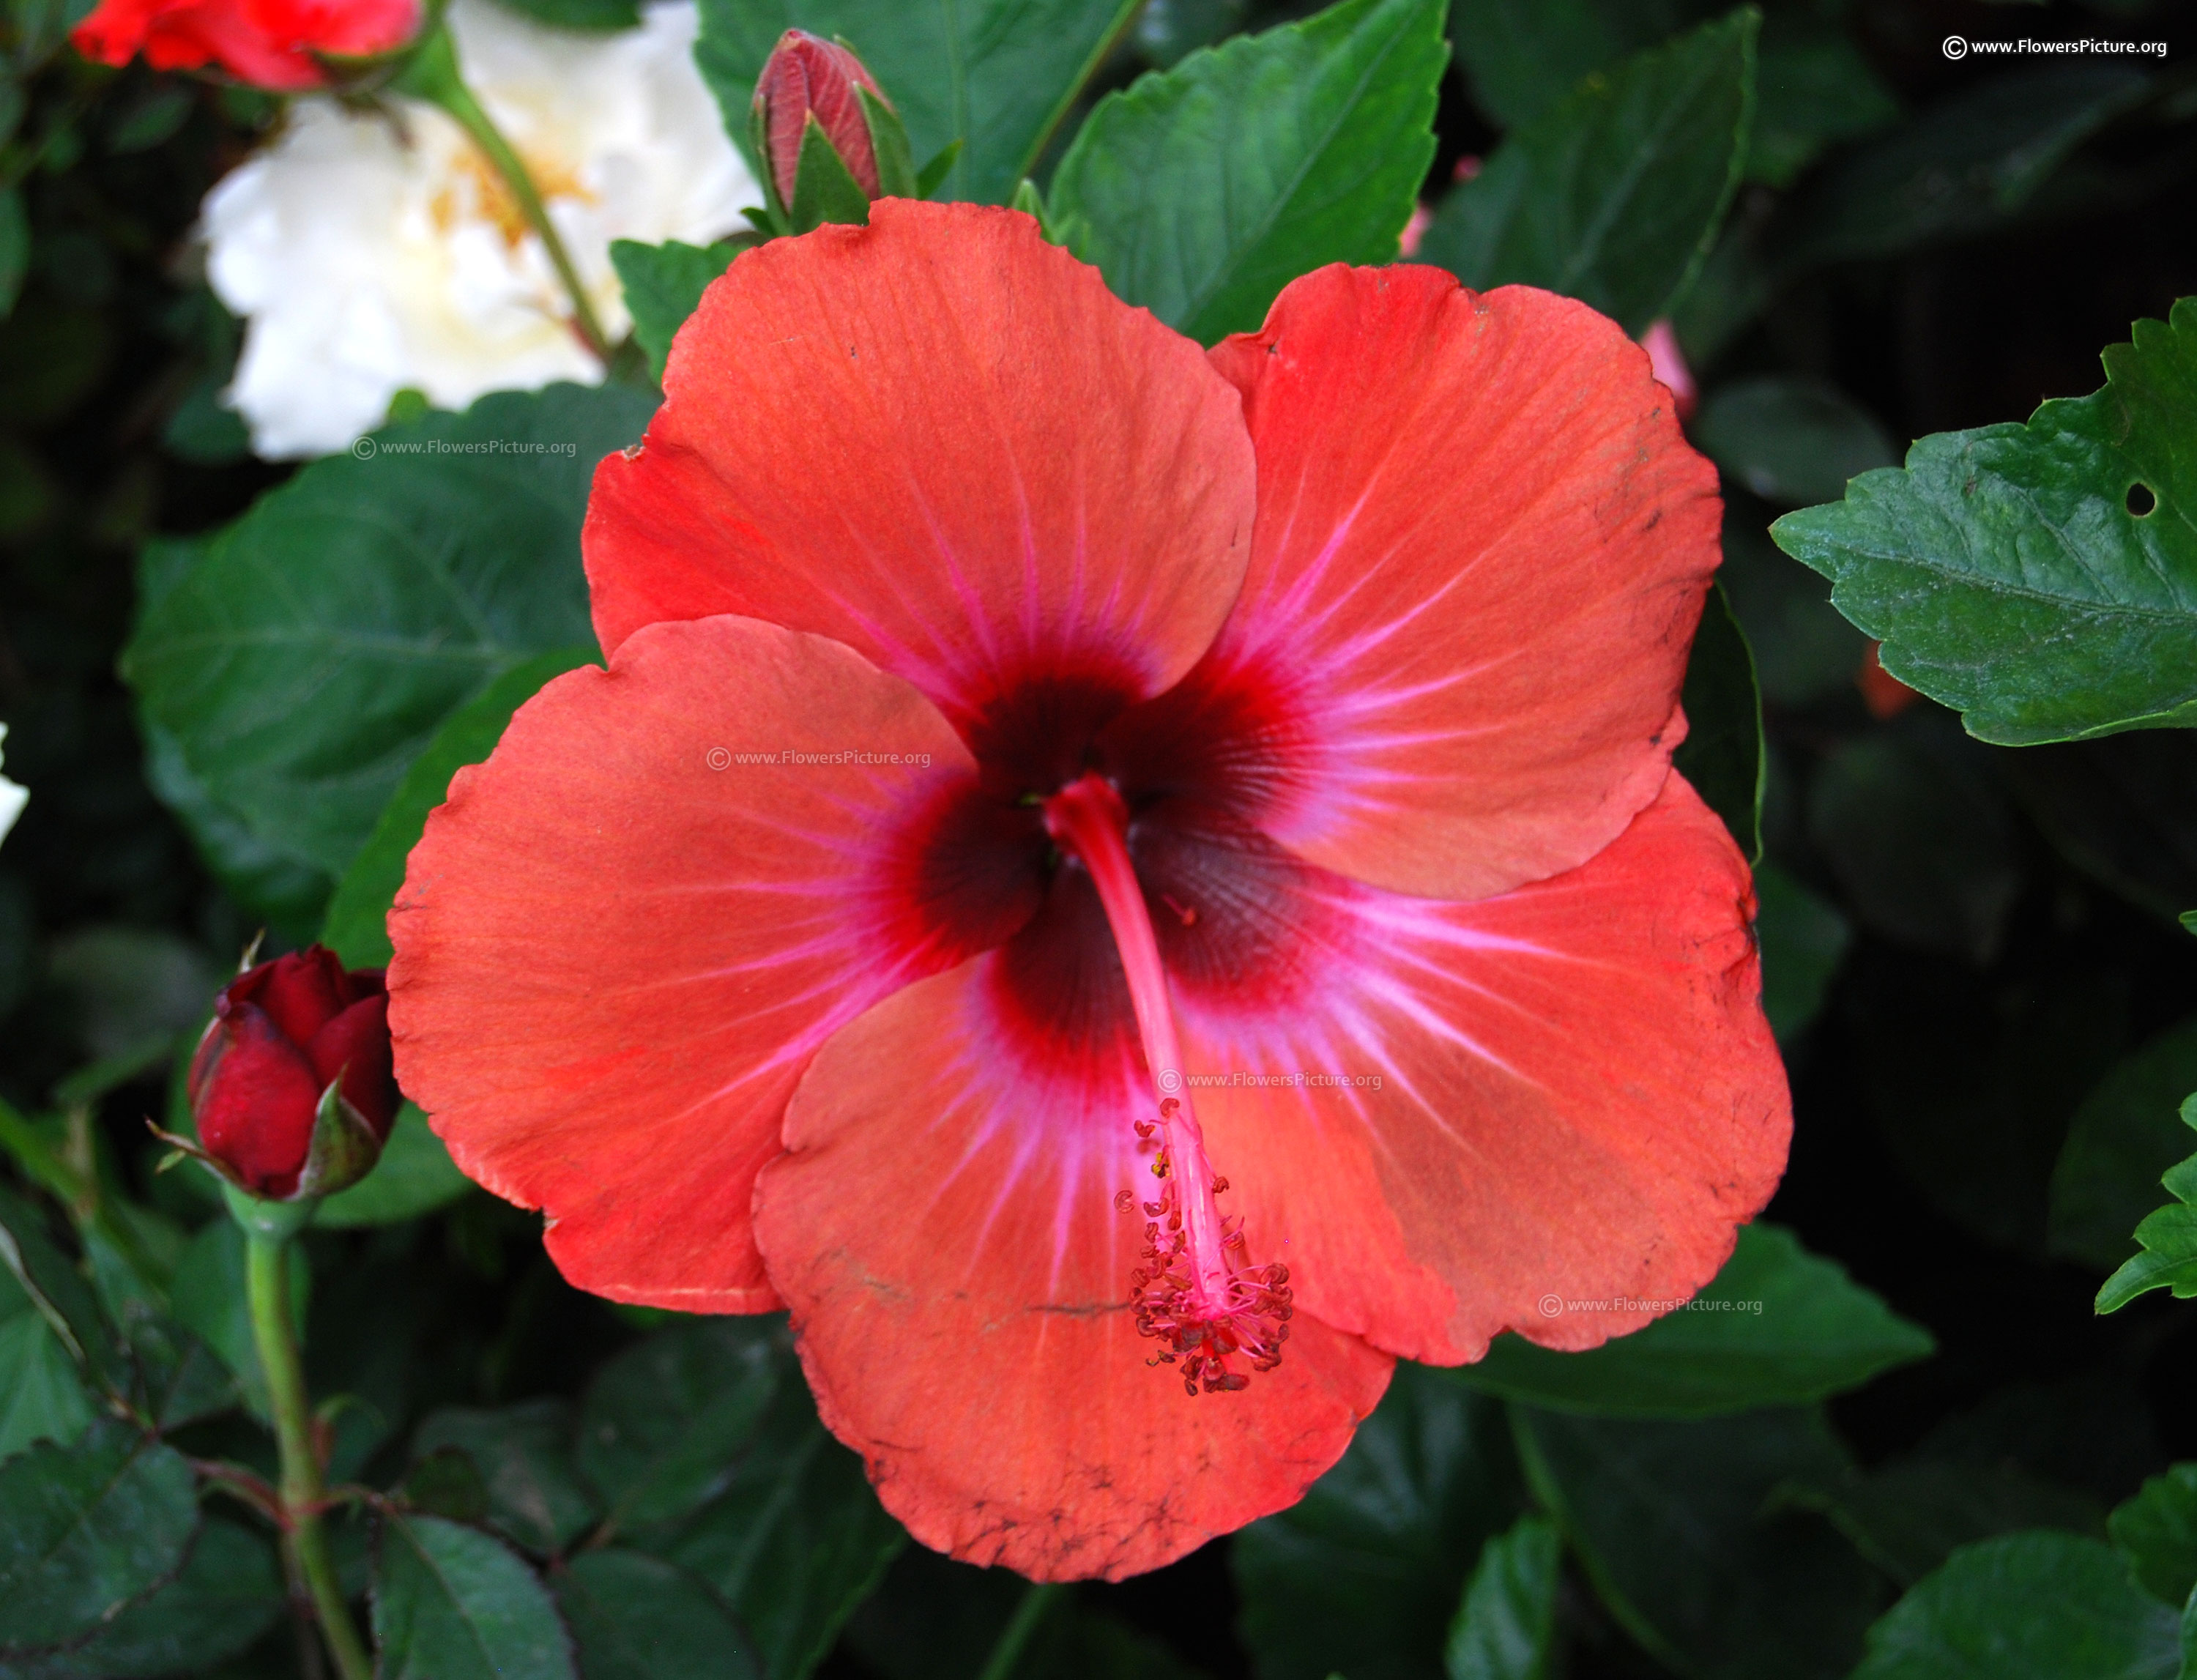
What makes them so appealing for art, and especially for hibiscus nail art, is their look. Their petals are often soft and feel almost like paper, coming in many colors like cheerful pinks, pure whites, bright reds, and sunny yellows. You can, for instance, find a type of hibiscus that will just light up any garden with its big, showy blooms, no matter where you live.
Our site, you see, has a very extensive collection of information about hibiscus plants. We talk about how to plant them, how to help them grow, and how to keep them healthy. We even, in fact, have the most extensive site on the web about hibiscus, covering everything you might want to know about these wonderful plants. This deep understanding of the actual flowers helps us appreciate their beauty for nail designs even more.
- Hells Kitchen Lounge
- Karol Rosalin
- Pretty Little Baby Connie Francis Lyrics Meaning
- Sophieraiin Spiderman Video
- Lovely Stitches
Why Hibiscus Nail Art is a Must-Try
Hibiscus nail art is, quite simply, a wonderful choice for many reasons. It brings a touch of the tropics right to your hands, making you feel a bit like you're on vacation, even if you're just at home. The designs are usually very eye-catching, and they just have a happy feel to them.
This kind of nail art is also very versatile. You can make the designs as simple or as detailed as you like. Whether you prefer a small, subtle flower on one nail or a whole garden across all your fingers, it's possible. It's, you know, a trend that pops up every warm season, always looking fresh and stylish.
It's a great way to add a bit of personality to your look. People often choose it for summer events, beach trips, or just to keep that warm weather vibe going. Plus, it's a fun project to try yourself, or to ask your nail technician to create for you. It's, really, a lovely way to brighten things up.
Getting Started: What You'll Need
Before you begin creating your beautiful hibiscus nail art, it's a good idea to gather all your supplies. Having everything ready makes the process much smoother and more enjoyable. You'll want to have a comfortable, well-lit spot to work, too, which is helpful.
Essential Tools for Your Art
Dotting Tools: These are very useful for making small circles for the flower's center or for placing tiny details. They come in different sizes, so you can pick the one that works best for your design.
Fine Detail Brushes: A very thin brush is, frankly, key for drawing the delicate petals and the long stamen of the hibiscus. Look for brushes made specifically for nail art, as they are often just the right size.
Nail Polish Remover and Cotton Swabs: Mistakes happen, and having these on hand means you can clean up any little slips quickly. It's good to have them nearby, anyway.
Top Coat: This is, basically, what protects your design and gives it a nice, shiny finish. It helps your hard work last longer, too.
Base Coat: A good base coat protects your natural nails and helps the polish stick better. It's an important first step, you know.
Picking the Right Polishes
The colors you choose will, naturally, bring your hibiscus nail art to life. Think about the real flowers, which come in a wide range of hues. You'll need a few different shades to create a convincing hibiscus.
Flower Colors: Pick a main color for your petals, like a bright pink, a sunny yellow, or a classic red. You might want a slightly lighter or darker shade of the same color for shading, too, to add some depth.
Center Color: A contrasting color, often yellow or white, works well for the center of the flower. This helps the stamen stand out, which is pretty important.
Green for Leaves (Optional): If you want to add small leaves, a nice green polish will be needed. This can, you know, really make the flower pop.
Background Color: A light, neutral color like white, pale blue, or even a clear base works well as a background. This lets your hibiscus design be the main focus, which is usually the idea.
Basic Hibiscus Nail Art Techniques
Even if you're new to nail art, you can definitely create pretty hibiscus designs. It's all about, really, breaking down the flower into simpler shapes. Practice on a piece of paper first, if you like, to get a feel for the brush strokes.
Simple Petal Design
For a quick and easy hibiscus, you can focus on just a few key petals. Start with your base color. Then, using a dotting tool or the tip of a fine brush, make five small dots in a circle to form the rough shape of the petals. Connect these dots with short, curved strokes, making them wider at the outside edge. This creates a basic flower shape that's, frankly, very recognizable as a hibiscus.
Creating a Detailed Bloom
If you want a bit more detail, you can build up the petals in layers. Start with a lighter shade for the base of each petal, then add a slightly darker shade near the center or edges to give it some depth. Remember, hibiscus petals often overlap a little, so try to capture that natural look. This can, you know, make the flower look much more realistic.
Adding Gradient Backgrounds
To make your hibiscus stand out even more, consider a gradient background. This involves blending two or more colors on your nail to create a smooth transition, like a sunset. You can use a makeup sponge to dab the colors onto your nail, blending them as you go. A light blue fading into a soft orange, for instance, can make your hibiscus design feel truly tropical, which is pretty cool.
Step-by-Step Guide for a Classic Hibiscus
Here’s a simple guide to help you create a classic hibiscus design on your nails. Take your time with each step, and don't worry if it's not perfect the first time. Practice, you know, really does make a difference.
Nail Preparation
First, make sure your nails are clean and dry. Gently push back your cuticles and shape your nails as you like. This step is, honestly, very important for a good, lasting result. Any oils or dirt on the nail surface can prevent the polish from sticking well, which is something you want to avoid.
Applying the Base Coat
Apply a thin layer of base coat to all your nails. Let it dry completely. This layer protects your nails from staining and helps your hibiscus nail art last longer. It also provides a smoother surface for your design, too, which is helpful.
Drawing the Flower Shape
Now for the fun part! Using your chosen petal color and a fine detail brush, draw five curved petal shapes radiating out from a central point. Think of them as soft, slightly overlapping teardrops. You don't need to be perfectly symmetrical; real flowers, you know, aren't always perfect either. Allow this layer to dry a bit before moving on.
Adding Inner Details and Stamen
With your contrasting color (like yellow or white), use a dotting tool to place a small dot in the very center of your flower. From this dot, draw a thin line extending outwards, just a little past the petals. This line represents the stamen. Add a few tiny dots at the end of this line to mimic the pollen pods. You can, basically, add a little shading to the petals with a slightly darker shade if you want more depth, which is pretty nice.
Finishing with a Top Coat
Once your design is completely dry – and this is key – apply a generous layer of clear top coat. This will seal in your hibiscus nail art, protect it from chipping, and give it a beautiful, glossy finish. A good top coat will, really, make all your hard work last for days. Let it dry fully before you do anything else with your hands.
Beyond the Basics: Creative Hibiscus Nail Art Ideas
Once you've mastered the basic hibiscus, there are so many ways to get creative. You can mix and match colors, add other elements, and really make the design your own. It's, honestly, a chance to let your imagination run wild.
Tropical Sunset Ombre
Combine your hibiscus design with a sunset ombre background. Use colors like orange, pink, and purple, blended together on your nail before adding the flower. This creates a stunning backdrop that, you know, perfectly complements the tropical feel of the hibiscus. It's a bit more work, but the result is usually very striking.
Hibiscus Accent Nails
You don't have to put a hibiscus on every nail. Try painting a solid color on most of your nails and then featuring a detailed hibiscus on just one or two accent nails. This is, basically, a more subtle way to wear the design, and it can look very elegant. It's a good choice if you're, like, just trying it out.
Glitter and Rhinestones
For extra sparkle, add a touch of glitter polish over your design or strategically place small rhinestones. A tiny rhinestone in the center of the flower, for instance, can add a beautiful focal point. You can also use fine glitter on the petals themselves for a shimmery effect, which is pretty fun.
Tips for Long-Lasting Hibiscus Nails
You've put effort into your hibiscus nail art, so you'll want it to last as long as possible. A few simple steps can help protect your beautiful design and keep it looking fresh. It's, you know, all about good habits.
Proper Nail Preparation
Always start with clean, dry nails. Remove any old polish, push back cuticles, and gently buff the nail surface. This creates a smooth, oil-free canvas for your polish to adhere to, which is, frankly, very important. A good prep means a good start, basically.
Using Quality Products
Invest in good quality nail polishes, base coats, and top coats. Better products tend to apply more smoothly, dry faster, and chip less easily. This can make a big difference in how long your hibiscus nail art stays looking nice, too, which is a real plus.
Sealing the Design Well
Don't skip the top coat, and apply it generously. You might even want to apply a second thin layer after the first one has dried completely, especially if your design is very detailed or has texture. This extra layer, you see, provides more protection against daily wear and tear. Remember to cap the free edge of your nail with the top coat, which helps prevent chipping from the tips.
Caring for Your Hibiscus Plants
Just as you care for your nails, you might find yourself curious about the real flowers that inspire your art. Our site, you know, is quite a resource for all things hibiscus. We've got, actually, the most extensive site on the web about hibiscus, covering everything from how to grow them, to caring for them, and even identifying different types. We even, in fact, sell exotic hibiscus plants for indoor and outdoor growing, so you can bring that tropical feel right into your home or garden.
Hibiscus plants are very popular, with hundreds of species that can be trees or shrubs, and annuals or perennials. Most of them, you see, are tropical or subtropical, but there are hardy types too, like the rose mallow (Hibiscus moscheutos), which is a southern native with enormous flowers. They're members of the mallow family, also known as Malvaceae, and the genus is quite large, comprising several hundred species native to warm temperate, subtropical, and tropical regions. You can learn more about hibiscus on our site, which is pretty cool.
Their flowers, as we mentioned, have papery petals in hues such as pink, white, red, and many others. Regardless of your location, you can often find a hibiscus that will light up your garden with its huge, colorful blooms. We provide detailed guides on how to plant, grow, and care for them, helping you understand when hibiscus bloom and how to ensure they thrive. Check out this page for more information on hibiscus cultivation, which is very useful.
Our plant identification database, you know, is the largest in the world, and you can also read plant and insect reference guides at Dave's Garden, which is a very helpful resource for any plant enthusiast. This deep knowledge about the actual plants, frankly, gives us a special appreciation for the beauty they bring to art, like your hibiscus nail art. It’s all connected, in a way.
Frequently Asked Questions About Hibiscus Nail Art
What does a hibiscus flower symbolize?
The hibiscus flower, you know, holds different meanings depending on the culture. Often, it stands for delicate beauty, glory, and joy. In some places, it can also represent hospitality or a welcoming spirit. Its bright colors and open shape, basically, make it a very positive symbol.
What colors are hibiscus flowers?
Hibiscus flowers come in a wide range of beautiful colors. You can find them in shades of pink, white, red, yellow, orange, and even purple. Some varieties, in fact, show a mix of colors on a single bloom, with centers that contrast with the petals. This variety is what makes them so appealing for hibiscus nail art, too, which is pretty great.
What is the easiest flower to paint on nails?
While "easiest" can depend on your skill level, simple five-petal flowers, like a basic daisy or a simplified hibiscus, are often good for beginners. The hibiscus, with its distinct shape and prominent stamen, can be simplified into a few strokes and dots, making it quite approachable for those just starting out. You can find many tutorials online for simple flower designs, for example, on sites like
Related Resources:
/trio-of-vibrant-red-hibiscus-flowers-with-bright-yellow-stigma-growing-in-garden-pot-845218812-5abea591119fa80037eef63e.jpg)

Detail Author:
- Name : Erna Nienow
- Username : minerva90
- Email : willis21@hotmail.com
- Birthdate : 1982-10-18
- Address : 641 Hilpert Isle Apt. 908 North Elsie, MS 12839
- Phone : +1-680-236-8972
- Company : Grant and Sons
- Job : Nutritionist
- Bio : Ut libero non velit ullam labore ipsum qui. Vel aut voluptatem ut possimus aut architecto.
Socials
twitter:
- url : https://twitter.com/baileyhartmann
- username : baileyhartmann
- bio : Aut nam dolor quos autem veritatis. Adipisci possimus enim vero impedit velit qui aut. Nesciunt pariatur maxime et sapiente expedita ullam et.
- followers : 2460
- following : 1215
linkedin:
- url : https://linkedin.com/in/hartmann1995
- username : hartmann1995
- bio : Nihil quod cupiditate molestiae.
- followers : 5680
- following : 2650
